.

01242 964 444  CONTACT US

0Item(s)

You have no items in your shopping bag.

Product was successfully added to your shopping cart.

Rock the Weekend

  • How to: Create the ‘Undone’ Volume Look

    Undone volume. It’s one of those styles that everyone lusts after, but so few feel confident they can achieve without the help of their stylist. It’s the celebrity go to look and as a result has become one of the most requested blow-dry looks ever. But trust me ladies, the beauty of this style is that it’s meant to look messy and scream ‘I just woke up like this’ (yeah right). With just a few hints and tips from a pro, you can achieve this look at home and have everyone thinking you’ve got one hell of a loyalty card at the salon.

    urban_woman

    Step 1: Root lift

    Apply a root lift spray, such as L’Oreal Professionnel Volumetry Anti-Gravity Volume Root Spray 125ml then, using your hairdryer without the nozzle, start to dry with your fingers, lifting the hair and directing the airflow into the root area.

    Step 2: Curl up

    Pop your hairdryer nozzle back on and grab a Moroccanoil Ceramic Barrel Brush (or similar) and direct the airflow from the roots to ends. Roll the hair around the brush back towards the heat, heating the hair as you roll. Now for the clever bit…ever wondered what that cold button on your dryer was for? Use it now to set the hair before unwrapping the hair, back-brushing lightly at the root and pinning into a barrel curl. That’s how the pro’s do it.

    Step 3: Pin curls

    Carry on section by section through your hair, remembering to take vertical sections and directing the heat away from the face. Repeat the previous step to complete the sides and back of the head, wrapping and pinning each section.

    Step 4: Get that lift

    Now you’ve reached the crown and the top start taking horizontal sections, elevating each section vertically and directing the nozzle into the root area for extra lift

    Step 5: Tease out

    Unpin each section and gently tease the hair at the root using a comb before spritzing with hairspray. I love Tigi Catwalk Session Series Finishing Hairspray. Shake the style out with your hands then use your fingers to dress it out to our desired finish.

    Simple right?! Give it a go and you’ll be amazed at the results.

    Xoxo

  • Stay Safe This Summer

    Sun skin safety. It’s not the most glamorous of subjects and granted, it does have the similar dull ring to it as the dreaded ‘health and safety’. That said, it is really something that we need to think seriously about. Obviously I don’t want to start sounding like your Mum here, making you wear a t-shirt in the pool; so instead I’m going to talk you through all the key things you need to look out for with your suncare products.suncreen

    Most of us will only start thinking about suncare in the weeks leading up to our summer getaway to sunnier climates. However, regardless of whether you are sunning yourself on a yacht in St Tropez (I wish) or just sitting in the park in cloudy Britain, everyone is exposed to the sun in some way. Up to 40% of the sun’s ultraviolet radiation reaches the earth on a completely cloudy day, leaving us exposed to the sun even when we don’t realise it. That’s why we should be putting sun protection in place on a daily basis to help protect our skin. After all, the sun’s rays may be invisible to the naked eye, but the effects on the skin are clear.

    So, what should you be looking for when it comes to skin protection? Most of the time, it feels like suncare brands are just throwing acronyms at us left, right and centre. So let’s cut through the jargon and break it down.

    You should be looking for two different levels of protection. SPF is the level of protection given against UVB rays (these can alter your skin cells’ DNA and cause sun burn). In simple terms, if your skin usually takes around 20 minutes to redden when unprotected, an SPF15 lotion will extend this time by 15, providing coverage for up to 5 hours.

    Meanwhile, UVA protection levels (UVA rays cause allergies, ageing, dark spots and wrinkles) can be recognised by star ratings on the bottle. Five stars is what you’re after here of course. Products with both UVA and UVB coverage are known as ‘broad spectrum protection’.

    Regardless of how long your protection claims to last, no suncream should be expected to keep skin protected for longer than 2 hours without reapplication. Plus of course, your suncream is only good as your application technique, so be generous people.

    With suncare, I truly believe you get what you pay for. I’ve tried them all, from budget to premium brands, and it’s clear that the professional brands have got it right. In fact, cheaper high street brand suncreams can include sunscreen chemicals that are harmful to the skin. Very often, they are actually the cause of the dreaded prickly heat. So I urge you, invest in your suncare and you’ll never look back. Let me share 2 of my favourites with you:

    Dermalogica Protection 50 SportThis is a sheer cream that has enhanced SPF performance and counteracts moisture loss triggered by extended daylight exposure. I love this one because it doesn’t feel greasy and also doesn’t stain your white tops as so many creams tend to.

    Thalgo Age Defence Sun Lotion SPF30This rich cream provides optimum sun protection from the first days of exposure. It’s a really creamy, velvety lotion with a fine and ultra-light texture that allows you to develop a lasting tan safely.

    So, no excuses. Make sure you’re #sunsafe this summer.

    xoxo

  • Splash some colour into Autumn with the latest nail trends

    It’s November, time to leave behind plain colour block nails and catch up with the latest nail trends. This season it’s all about having super groomed, shiny, healthy nails. Once you’ve mastered that, it’s all about the nail art. Personally, I love it. It looks fab and chic regardless of what colour you decide to originally put on your nails.

    Autumn Nail Trends

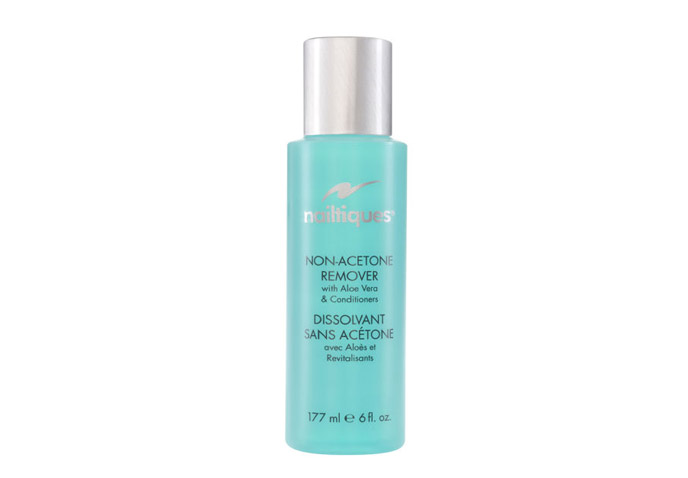
    Before experimenting with nail art, you need to first clean your nails properly and shape them. Start by taking off any old polish with a nail varnish remover that moisturises your cuticles and nails. Try Nailtiques Polish Remover. It keeps your nails in tiptop condition ready for your next fabulous colour.

    Nailtiques Remover Nailtiques Remover

    Then file your nails to any shape you want – square or round.

    Give your nails a pre-Christmas glow

    After shaping your nails, give them the nutrients that they need! A lot of people miss this part out and put nail varnish on straight away, but it really does help your nails. Try using a gel or hand conditioner. It will instantly hydrate and condition both your nails and cuticles.

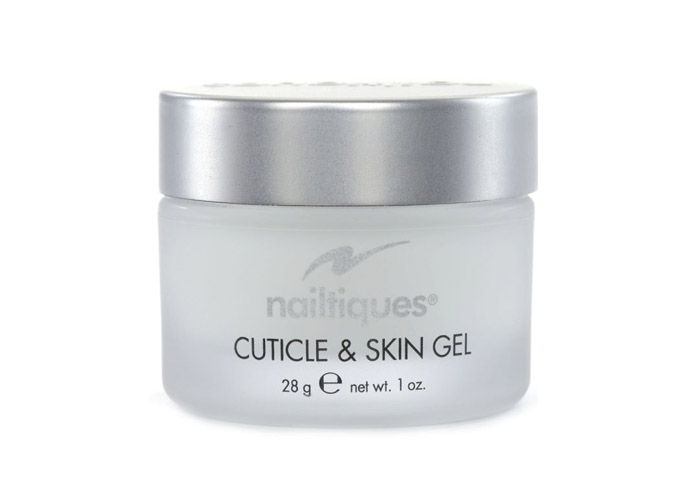
    Try using Nailtiques Cuticle and Skin Gel. It acts immediately on cuticles and penetrates deep into the skin. (Top tip: it’s also fantastic for cracked cuticles or rough skin; you can also use this on dry skin on your elbows.)

    Nailtiques cuticle and skin Gel Nailtiques Cuticle and Skin Gel

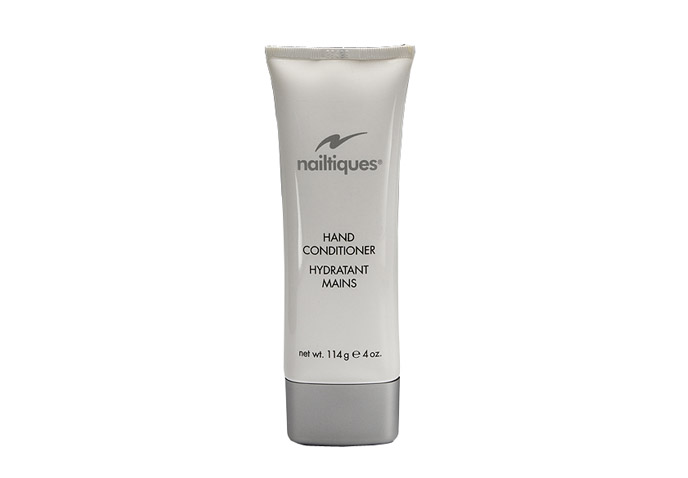
    Or you could try Nailtiques Hand Conditioner. Pushing back your cuticles with your fingertips, while massaging until completely absorbed. It instantly rehydrates and conditions both your hands and nails.

    Nailtiques hand conditioner Nailtiques Hand Conditioner

    Colour time

    Once you have pampered your hands, choose your colour. This season, darker shades are in to add more of an ‘oomph’. Darker shades are also better if you want to try nail art.

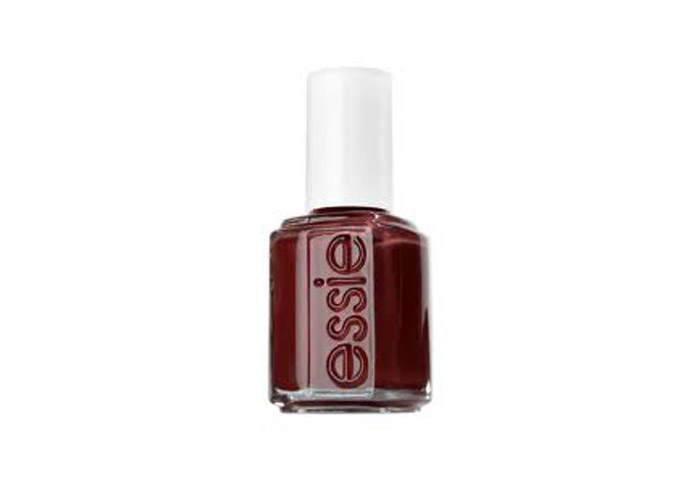
    At the moment, I love Essie’s Thigh High colour. The shape is delicious and looks fabulous on. Make sure you put two coats on and finish with a topcoat for extra chip resistance.

    Essie Thigh High colour Essie Thigh High colour

    Other fab Autumnal colours bang on trend…


    You’ll fall ‘Matte-ly’ in love…

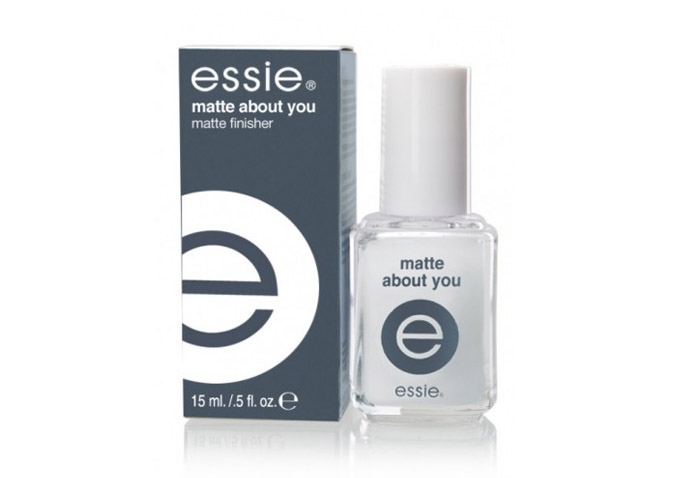
    Sometimes a girl doesn’t want a high shine finish on her nails, and when that happens you HAVE to try Essie Matte About You.

    It transforms your nails from super shiny to a super matte finish. Bang on trend!

    Essie Matte Essie Matte

    Fashionable fingertips…

    After you have picked your colour, why not decorate your nails some more? There are lots of nail art stencils and press ons out at the moment. Below are some examples that I know I’m going to try! Try using nail pens and stick on sequins for the fabulous effect.

Items 4 to 6 of 13 total

  1. 1
  2. 2
  3. 3
  4. 4
  5. 5